
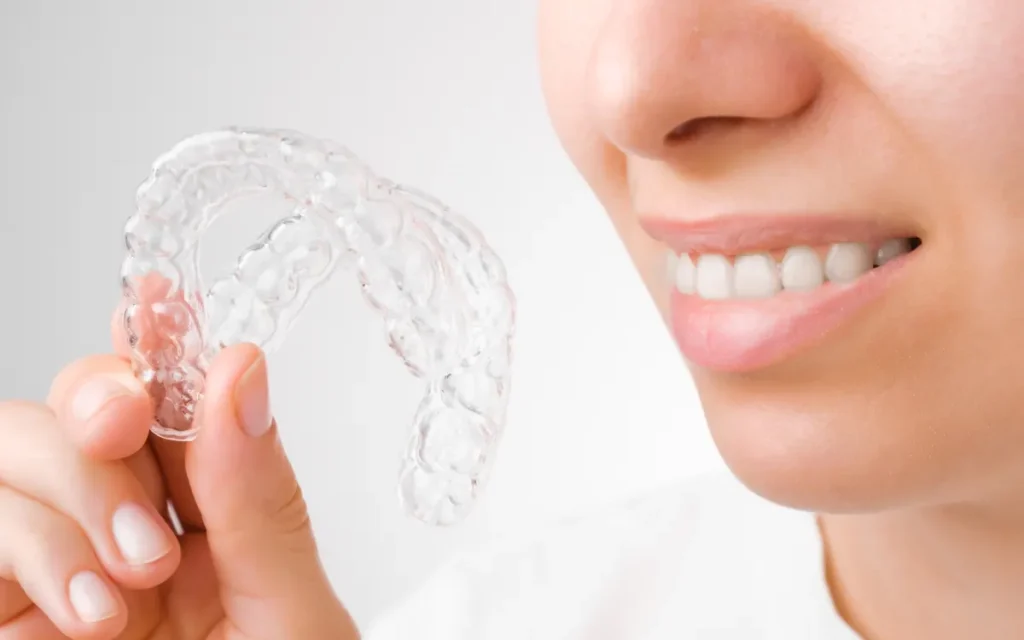
Every clear aligner starts as a digital file and ends as a thin, transparent tray that fits one patient at one stage of treatment. Here’s what happens in between.
1. Scan intake and checks
We receive upper and lower intraoral scans along with photos and the clinician’s notes. Before planning starts, each scan is checked for missing areas, distortions and bite alignment.
2. 3D treatment setup
Our technicians separate each tooth, define the final position and divide the movement into small, safe stages. IPR and attachments are planned at this point.
3. Approval, printing and forming
Once the clinician approves the plan in the 3D viewer, every stage is printed as a resin model. Medical-grade aligner sheets are then thermoformed over each model.
4. Finishing and packing
Aligners are trimmed along the gum line, polished, inspected and packed in labelled, numbered pouches — then shipped by tracked courier to clinics across Canada and abroad.